Wednesday, December 15, 2010

The Poor Man's Diet

https://blogger.googleusercontent.com/img/b/R29vZ2xl/AVvXsEge8ykZyyfG06i04MUQPG50aQkd8F1mGePzsJ0F3Dy-5agCzx-GMchUGN6QMTCZlRo31ay1J1gkMqWP1XRCm-6zacKMbz1qaslQCgN-KDnJ10Mv7tQ14UOjyb1WqUzaDYx5aMY0YZHByKk/s400/red+beans+and+rice+014.JPG

Beans and rice, rice and beans...these are the staples of a frugal diet. There are so many different, tasty ways to prepare them too! Dave Ramsey recommends that anyone working their way out of debt eat beans and rice as often as humanly possible! Of course, the best way to stretch that food budget is to refuse to buy chips, soda, snack crackers and other processed junk. Then you can buy more spices, veggies, meat and fruit. We try not to consume starches too often, but a big pot of beans once or twice a week is a good budget stretcher. Here are a couple of my favorite recipes.


Red Beans and Rice


1/2 pound dried kidney beans, rinsed

1/2 pound dried pinto beans, rinsed

4 cups water

4 cups chicken broth

2 garlic cloves, minced

2 bay leaves

1 quart home-canned tomatoes with liquid

1 jar (4 ounces) canned peppers, drained

1 large green pepper, chopped

1 large sweet red pepper, chopped

1 large onion, chopped (I used 1 Tbsp dried minced onion)

1 cup chopped celery (I didn't have any, so I used 1 tsp celery salt)

1/4 cup snipped fresh parsley (I used 1 Tbsp dried)

1/4 to 1/2 teaspoon crushed red pepper flakes

1/4 to 1/2 teaspoon ground cumin

1/4 to 1/2 teaspoon hot pepper sauce

1 teaspoon paprika

1 teaspoon salt (I used less since I used celery salt)

1 tablespoon vinegar (I used the vinegar I pickled the peppers in)

Hot cooked rice (I used 2 cups dry rice...should have used 3)

Place beans in a Dutch oven with water. Bring to a boil; simmer 2 minutes. Remove from the heat. Cover and let stand 1 hour. Drain and rinse beans. Return to Dutch oven with broth, garlic and bay leaves; bring to a boil. Reduce heat; cover and simmer for 1-1/4 hours. Stir in all remaining ingredients. Cover and simmer for 1 hour or until beans and vegetables are tender and gravy is thick. Remove bay leaves. Serve over rice. This dish keeps well. Yield: 12 servings.


Faith's Pintos

Sort and wash two pounds of dry pinto beans (or about 4 1/2 C.)

Cover with 4 quarts filtered water then add:

6 TBS butter
2 TBS. garlic powder
1/2 tsp. black pepper
1 tsp. cayenne pepper (or more or less depending on the heat you want)
4 tsp. salt

Cook on high for at least 7 hours or until beans are tender.


Chili Con Elote


6 Tbsp red palm oil (use olive or canola if you haven't red palm oil, but red palm is wonderful tasting and very good for you!)

1 chopped onion

2 cloves garlic, minced

1 or 2 green peppers, seeded and chopped (I used 1)

4 cups chicken stock or broth

2 cups chopped tomatoes

2 cups corn (fresh or frozen)

8 cups cooked pinto beans (begin with 4 c. dried) or use well-rinsed canned beans if you like.

1 tsp. chili powder

1/2 tsp. cumin

1 Tbsp. salt

2 tsp. oregano


Saute onion and garlic in the oil. Add green pepper and saute 2-3 minutes more. Add chicken stock or broth, the tomatoes, and the corn. Mash two cups of the beans, then add them, the whole beans and the seasonings to the pot. Bring to a boil, then bring down to a simmer. Simmer, covered, 30 minutes.
Saturday, December 4, 2010

Slim Down Your Food Bills


As the economy slows and more folks begin to suffer the natural consequences of our increased government regulation and taxation, the food budget is often the first place families tighten the belt. One of my favorite resources for good-for-you, basic recipes is "More With Less" by Doris Janzen Longacre. I swap out fresh milk for the dry called for in some recipes and NEVER use soybeans or soy flour, but otherwise, the recipes are wholesome. Who knows, using this book often may even lead to weight loss! Cutting out expensive processed 'food' can be nothing but good!


Another book in a similar vein is Simply in Season, I don't have a copy, yet, but have heard good things about it. The book I go to for seasonal vegetable recipes is The Victory Garden Cookbook. Whatever strange veggie I bring home from the farmer's market can be cooked up with this book. It's all-inclusive! It even includes advice about growing your own garden.

http://www.fiddledeedee.net/wp-content/uploads/2010/04/FamilyFeastsCover.jpg

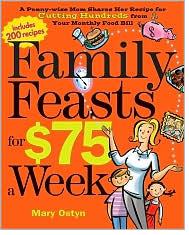
Another of my go-to's is "Family Feasts for $75 a Week or Less". Mrs. Ostyn feeds her family of 12 with these real life, healthy, basic recipes. I love that the recipes are based on things that have been tried and found true! You can visit her blog at Owlhaven. I wanna be like her when I grow up!

The World's Healthiest Foods is a great value. I bought it at Costco for about $20. This a full nutrition course along with a cookbook. It's a major work and should be on everyone's shelf, and pulled out often! I use it for school, for recipes and for learning new cooking methods. Do ignore the inclusion of soy as a healthy food. I'm sure the author will repent in due time.

Monday, November 1, 2010

50 Ways to Save Money For The Holidays


I'm all about saving some money! Simple, Green, Frugal has a great list of ways to save some cash. I printed out the list and highlighted the ones that we do regularly. I hope to have the whole list colorful as we improve our habits...except Part A of #1. I refuse!

50 Ways to Save Money For the Holidays

Let me know which of these you have tried, and what you would add to the list!

Friday, October 15, 2010

Homemade Christmas Gifts From the Kitchen


It's coming up on the season of giving. So many folks give, give, give till they are BROKE! Here's a collection of links to help you build homemade Christmas gifts that won't break the bank.

Cookies In A Jar Recipes

Brown Sugar Body Scrub

Food Gifts From Your Kitchen

Assorted Jar Recipes

Healthy Holiday Gift Ideas

Wednesday, October 13, 2010

Canning Jars and Equipment


Several years ago, I decided to learn to can. Canning has been a blessing for us! I now can have convenience foods. After a busy day, when I have forgotten to plan something for dinner, I can pull a couple of quarts of soup off of the shelf, throw together a sandwich and call it dinner. I can have home canned beans ready for burritos in a flash. I haven't run out of jam since I first began making it (though there is a downside. I can not enjoy store bought jam any longer...it's gross!)

Jars are one of the biggest expenses when beginning canning. At up to $12.00 for a dozen quarts, they are a big investment! I found this stack of jars for half-price at Walmart a week or so ago. Who can pass that up?! I bought a few for a friend, too, who had mentioned that she was out of jars. Make sure to watch for clearance things at the change of the seasons!

An even better way to get jars is to simply ask around. When I began collecting jars, I asked friends and acquaintances if they had any taking up room in the garage. I asked on our homeschool loop, Craig's List and Freecycle, too. You wouldn't believe the number of jars I received simply for the asking! Yes, they were dusty and dirty. One group was even disgusting, all buried in a filthy shed for decades. But they wash. Bleach works wonders. Hundreds and hundreds of jars for free are worth the work!

I was also given a full set of water bath canning tools, the big pot and a ton of rings, all for free, and was able to purchase a wonderful pressure canner for only $15. I got my second pressure canner on E-Bay for less than $50-with shipping.

Tattler lids are another thing to consider. I haven't used them, but have heard that they work well. They would be a good investment for the beginner canner. I bought a large supply of standard type of lids through my co-op, Azure Standard. Their bulk price is better than I could get them at the stores, locally. Then, a friend in North Dakota mentioned that her little general store sold them very inexpensively. She bought a case of each for me and shipped them in a very inexpensive manner. I have lids to last for years. :)

Canning can be affordable if you are patient and watch for the deals.

Monday, October 11, 2010

Homemade Facial Scrub Recipes

http://s2.hubimg.com/u/1090077_f260.jpg

Having a houseful of teens means getting requests for facial scrubs. Rather than buying a chemical-filled concoction, try one of these recipes!

Mix equal parts of salt and light olive oil. Rub paste on face in a circular motion. Rinse clean.

Mix baking soda and water to make a paste. Add a drop of tea tree oil and stir well. Apply to face, let sit three minutes, then rinse thoroughly.

Make a paste of white granulated sugar and milk. Add a squirt of lemon juice. Adjust sugar to the grittiness desired. Carefully wash face, without scrubbing too hard. Rinse clean.

You can also add ground oatmeal, olive oil and/or honey to the above recipes. You can scent them with any essential oils that you enjoy. Experiment until you get a combination that works well with your (or your child's) skin type! Try using the scrub on your forearm first to ensure you are not sensitive to any ingredients. Do not scrub your skin hard! You will damage your skin and cause yourself pain and possibly even wounds.

Wednesday, September 29, 2010

Burned a Pot to Death?

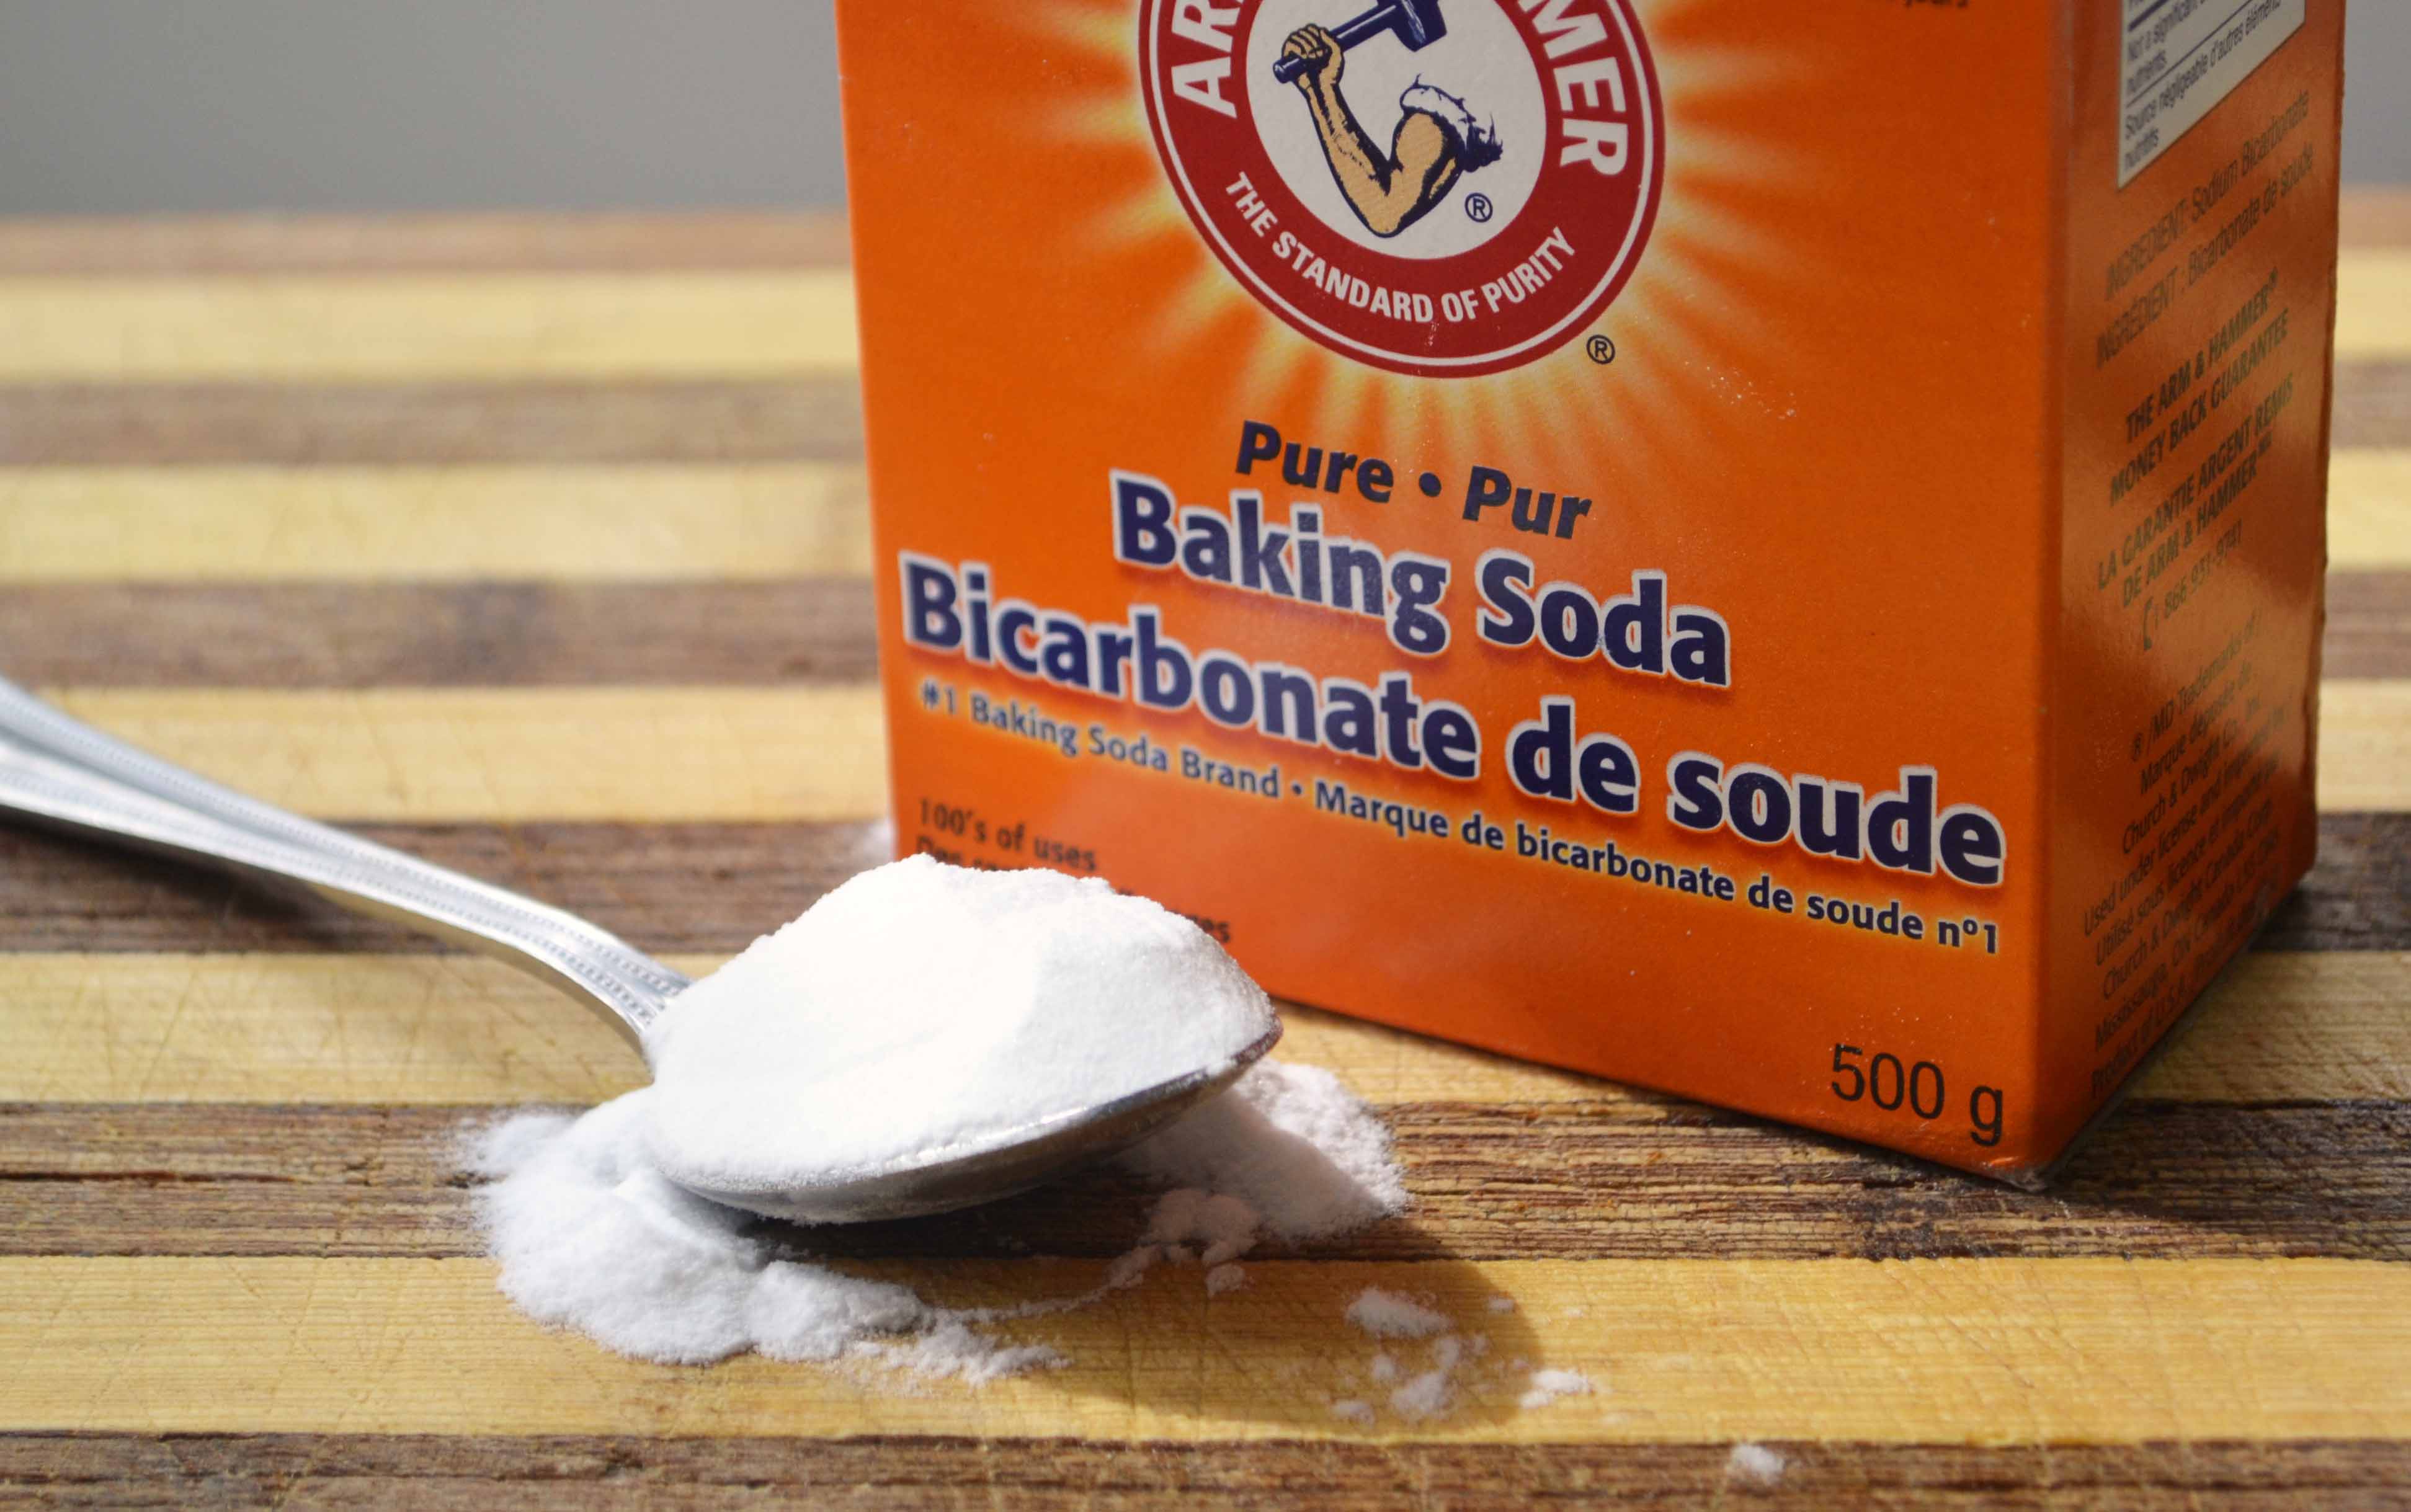
Have you ever forgotten something on the stove and severely burned your pot? I have. Once, I was making plum jam in my largest pot. I had it on a very low simmer and got distracted doing something else. It scalded to the bottom. Badly. I had to throw out the entire batch of jam and had a destroyed pot to boot. I soaked, I scrubbed, I scraped. I got some of the burn off, but not all of it. I was despairing for my pot! I even left it soaking for two weeks. Didn't help.

I got online and found a possible solution. Baking soda. Yes! Simple baking soda!


I put fresh water into the pot and added a cup of baking soda. I set it on the stove and heated it to boil. The baking soda worked on that burned on mess with bubbly action. After letting it work, I drained the water, cooled the pan and used a scraper. The burned on plum mess began to come off!! I removed all I could, then repeated the process once more. My largest pot was soon as clean as ever! I was so glad to have found this tip!

Saturday, September 18, 2010

Free (and some not-so-free) Workout Tools

http://static-p-a.comcast.net/api/assets/cimed-20081210/FeetAtScale.jpg

I saw a picture of myself a few years ago that I really didn't like. In fact, I hated that picture! When it would appear in our computer's screen saver slide show I would cringe. I still do in fact. However, instead of cringing in embarrassment, I now cringe in relieved regret. I have lost over 30 pounds in the last three years. Yes, that's a long time and people on The Biggest Loser lose that in two weeks. I know, though, that it took time to put that weight on, and it takes time to take it off. I think slow and steady is healthier in the long run.


So, how did I do it?

I stopped enjoying dessert every single night. We implemented "Saturday Dessert". Now we could look forward to enjoying some ice cream or a cookie, but it wasn't every night. The treat seemed much more like a treat, too! We have been eating more and more whole food for several years. Our diet overall was (and is) pretty healthy. But I saw a problem. I was often consuming carbs at every meal. Wholesome, complex carbs, but carbs nonetheless. I noted that it was pretty common for me to have oatmeal with toast for breakfast, a sandwich for lunch and a dinner of meat, starchy-carby side, veggie side and roll. I changed my meals around to include only one carby serving of food a day. I greatly increased my water consumption (made all the easier by purchasing a Berkey water filter!).


Finally, I began exercising. I began doing Namaste Yoga.  It's an easy, energizing type of yoga that I was glad to find. I ignore the commentary which can be pretty 'eastern'. I also turn it off before the 'meditation' portion. I invested in The Biggest Loser DVD's from my local Costco. They were only $5.99 each! I especially like Weight Loss Yoga with Bob. It really makes you work and doesn't have any of the eastern meditation junk. Jillian's Yoga Meltdown is also well worth getting. Chaturanga push ups are amazing.

I also completed a FREE 6 week workout at Marine Style Fitness. This was an incredibly beneficial workout. I did not do the cardio portion much of the time. I wish I had! However, just doing the strength training really toned me up.

Bob Harper from The Biggest Loser also has FREE challenges on his website. These are HARD but they are only two to three minutes. You can do it! I only do these on occasion, but I imagine that they could be a workout program on their own! Of course he sells his DVD series, which I bet is well worth the money.

http://getpaidwithfitness.net/wp-content/uploads/2009/12/p90_workout.jpg

Currently I am doing P90. It's a tough and effective workout. I have lost only two pounds since beginning three weeks ago, but my newly purchased pants are once again beginning to droop from being too big. That's all that matters to me!

Livestrong has also been a help. I use the free portion only. It's so easy to log in your food and see how many calories you are really consuming. It helped me to see that my portions were still too big. I love, love, love that I can enter my own recipes and get a nutritional breakdown.

I can now see that I can workout in odd times rather than big chunks of time. Any activity is better than none. I brought in an extra cement block left over from building our garden and use it for a step. Why spend $20 on a plastic step? I can do 15 minutes of stepping while listening to a child narrate or read aloud. Then I can plug in the info on Livestrong or here to get an estimate of calories burned. Seeing those numbers encourages me not to eat a handful of candy corn when it's on the refreshment table at church. I also walk for an hour in the mornings before the children wake up. I stay within two or three streets of our home so I can hurry home if I need to. I bring my phone with me. I listen to my Mp3 player and enjoy The Word for Today or an audiobook from Audible. I really enjoy my time working out and I have seen the effort chiseling down my hips and thighs.

Working out and eating right doesn't have to cost a fortune. You don't need a gym membership. You don't need to have a fancy kitchen filled with special ingredients and fancy machines. Basic, simple, whole foods, walking around your neighborhood and working out in your living room can do it for you, too!

Wednesday, September 15, 2010

Homemade Playdough

http://greenmomhappymom.com/wp-content/uploads/2009/02/playdough.jpg

My children love to play with playdough, as most do. I can't stand the smell, though, so I used to say 'yes' less often than they'd like. Then I came across one of the many recipes online for homemade playdough. Not only is it much less expensive than storebought, I can scent it any way I want! I can make pink and red dough and scent it cinnamon-y or even black, scented with anise! My Lambies love the smooth texture.


Homemade Play Dough
4 cups cheap white flour
4 cups water
2 cups cheap salt
1/2 cup cheap canola oil
8 tsp. cream of tarter
food coloring and essential oils as desired

Mix everything together in a large saucepan and stir with a wooden spoon, over medium heat, until the dough forms. This only takes a couple of minutes. When the dough forms, plop is out onto a counter and knead a few times until smooth.

If you want different colors, wait to add the food coloring until now. Separate the dough into as many different colors as you want and add different food coloring to each. Knead it in and add drops until the color you want develops.

Store in zippy bags.

Fly Repellent

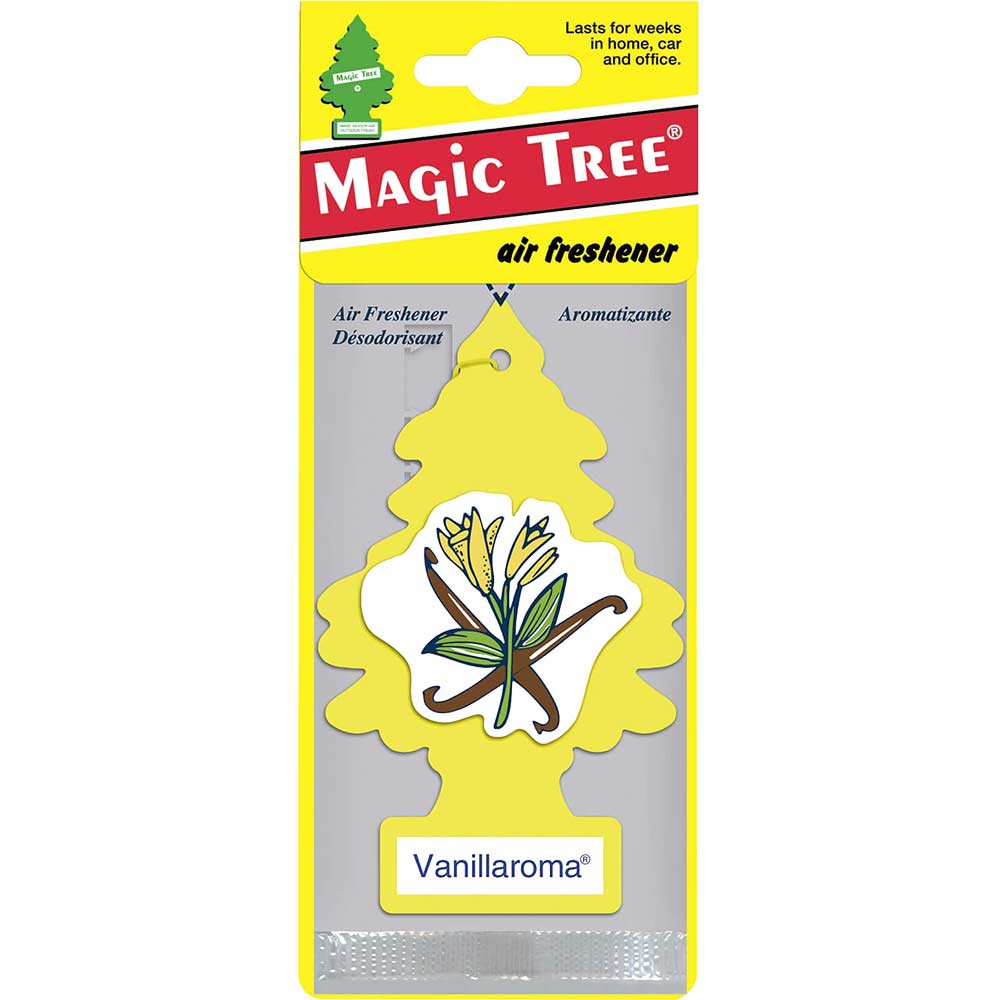
We live in an agricultural area. We therefore, have lots of flies. In the spring and summer they reach plague-like proportions. I read a tip on how to keep them out of the house a while ago, and tested it, and have found that it really seems to work!

http://www.tooled-up.com/Artwork/ProdZoom/SXNSMTV.jpg

Near your front and back doors, place a vanilla scented car tree air freshener. It must be vanilla, since apparently flies HATE the scent of vanilla. They will no longer linger near the doorways, buzzing in each and every time someone goes in or out.

These work so well that I keep extras on hand to give to friends who visit and notice the lack of flies in my house.

Friday, July 30, 2010

Stock Up!

http://cafenpolvo.files.wordpress.com/2009/11/crayola1.jpg

It's Back-to-School sale time! I love this time of the year. Crayola crayons go down as low as .25 in my neck of the woods, and very rarely, I can get them for half of that when they are clearance-ing the school stuff to put out Christmas decorations.

I stock up on the normal stuff, like spiral and composition notebooks, filler paper and Ticonderoga pencils (the only ones worth having, in my opinion). I really stock up on the crayons and colored pencils. I use them throughout the year for stocking stuffers, birthday presents and just-because smile-makers. Why not, when they are so inexpensive? I'd hate to have to spend over three bucks for a lack of foresight.

Friday, July 9, 2010

Homemade Toothpaste

Why spend $5 a tube for natural, fluoride-free toothpastes? Try this recipe instead. The Lambies have given it their approval.

Homemade Toothpaste

2 Tbsp coconut oil
3 Tbsp baking soda
1/2 small packet of stevia, or liquid drops to taste

Mix well, then flavor with:

5 or more drops peppermint oil
OR
5 or more drops spearmint oil
OR
1 tsp cinnamon + 3-4 drops clove oil

I bought some anise oil. We are going to try that next time. I store mine in a wide mouth food container with a tiny little samplespoon I snagged from Target.

Monday, May 17, 2010

Homemade Deoderant

Don't poison yourself with storebought chemical sticks! I found this at Naturally Knocked Up.

Homemade Deodorant

1/4 cup aluminum free baking soda

1/4 cup organic cornstarch (or arrowroot powder)

5-6 tablespoons coconut oil

5-10 drops tea tree oil

Mix all ingredients together and press into an old deodorant container. To use, let it rest against your skin for a couple seconds to soften the coconut oil, do one slow swipe under each arm and use the palm of your hand to spread it around.

Sunday, May 16, 2010

Leather Conditioner

Why pay for an expensive leather conditioner? Just use a banana peel!  This Instructables has a nice photo tutorial to help you learn how to perform this trick.